Integrating Chatbot into Your Website
Step-by-step guide to embedding your chatbot into any website. Learn how to install, customize appearance, and ensure smooth performance across devices.

Why embed a chatbot on your site?
A website chatbot gives visitors instant answers, captures leads, and reduces load on your team. The fastest path to value is a small script you paste once—then iterate on branding, placement, and behavior without redeploying your whole site.
Follow the ten steps below with the matching screenshots from your dashboard: from generating the widget through install, styling, and cross-device checks.
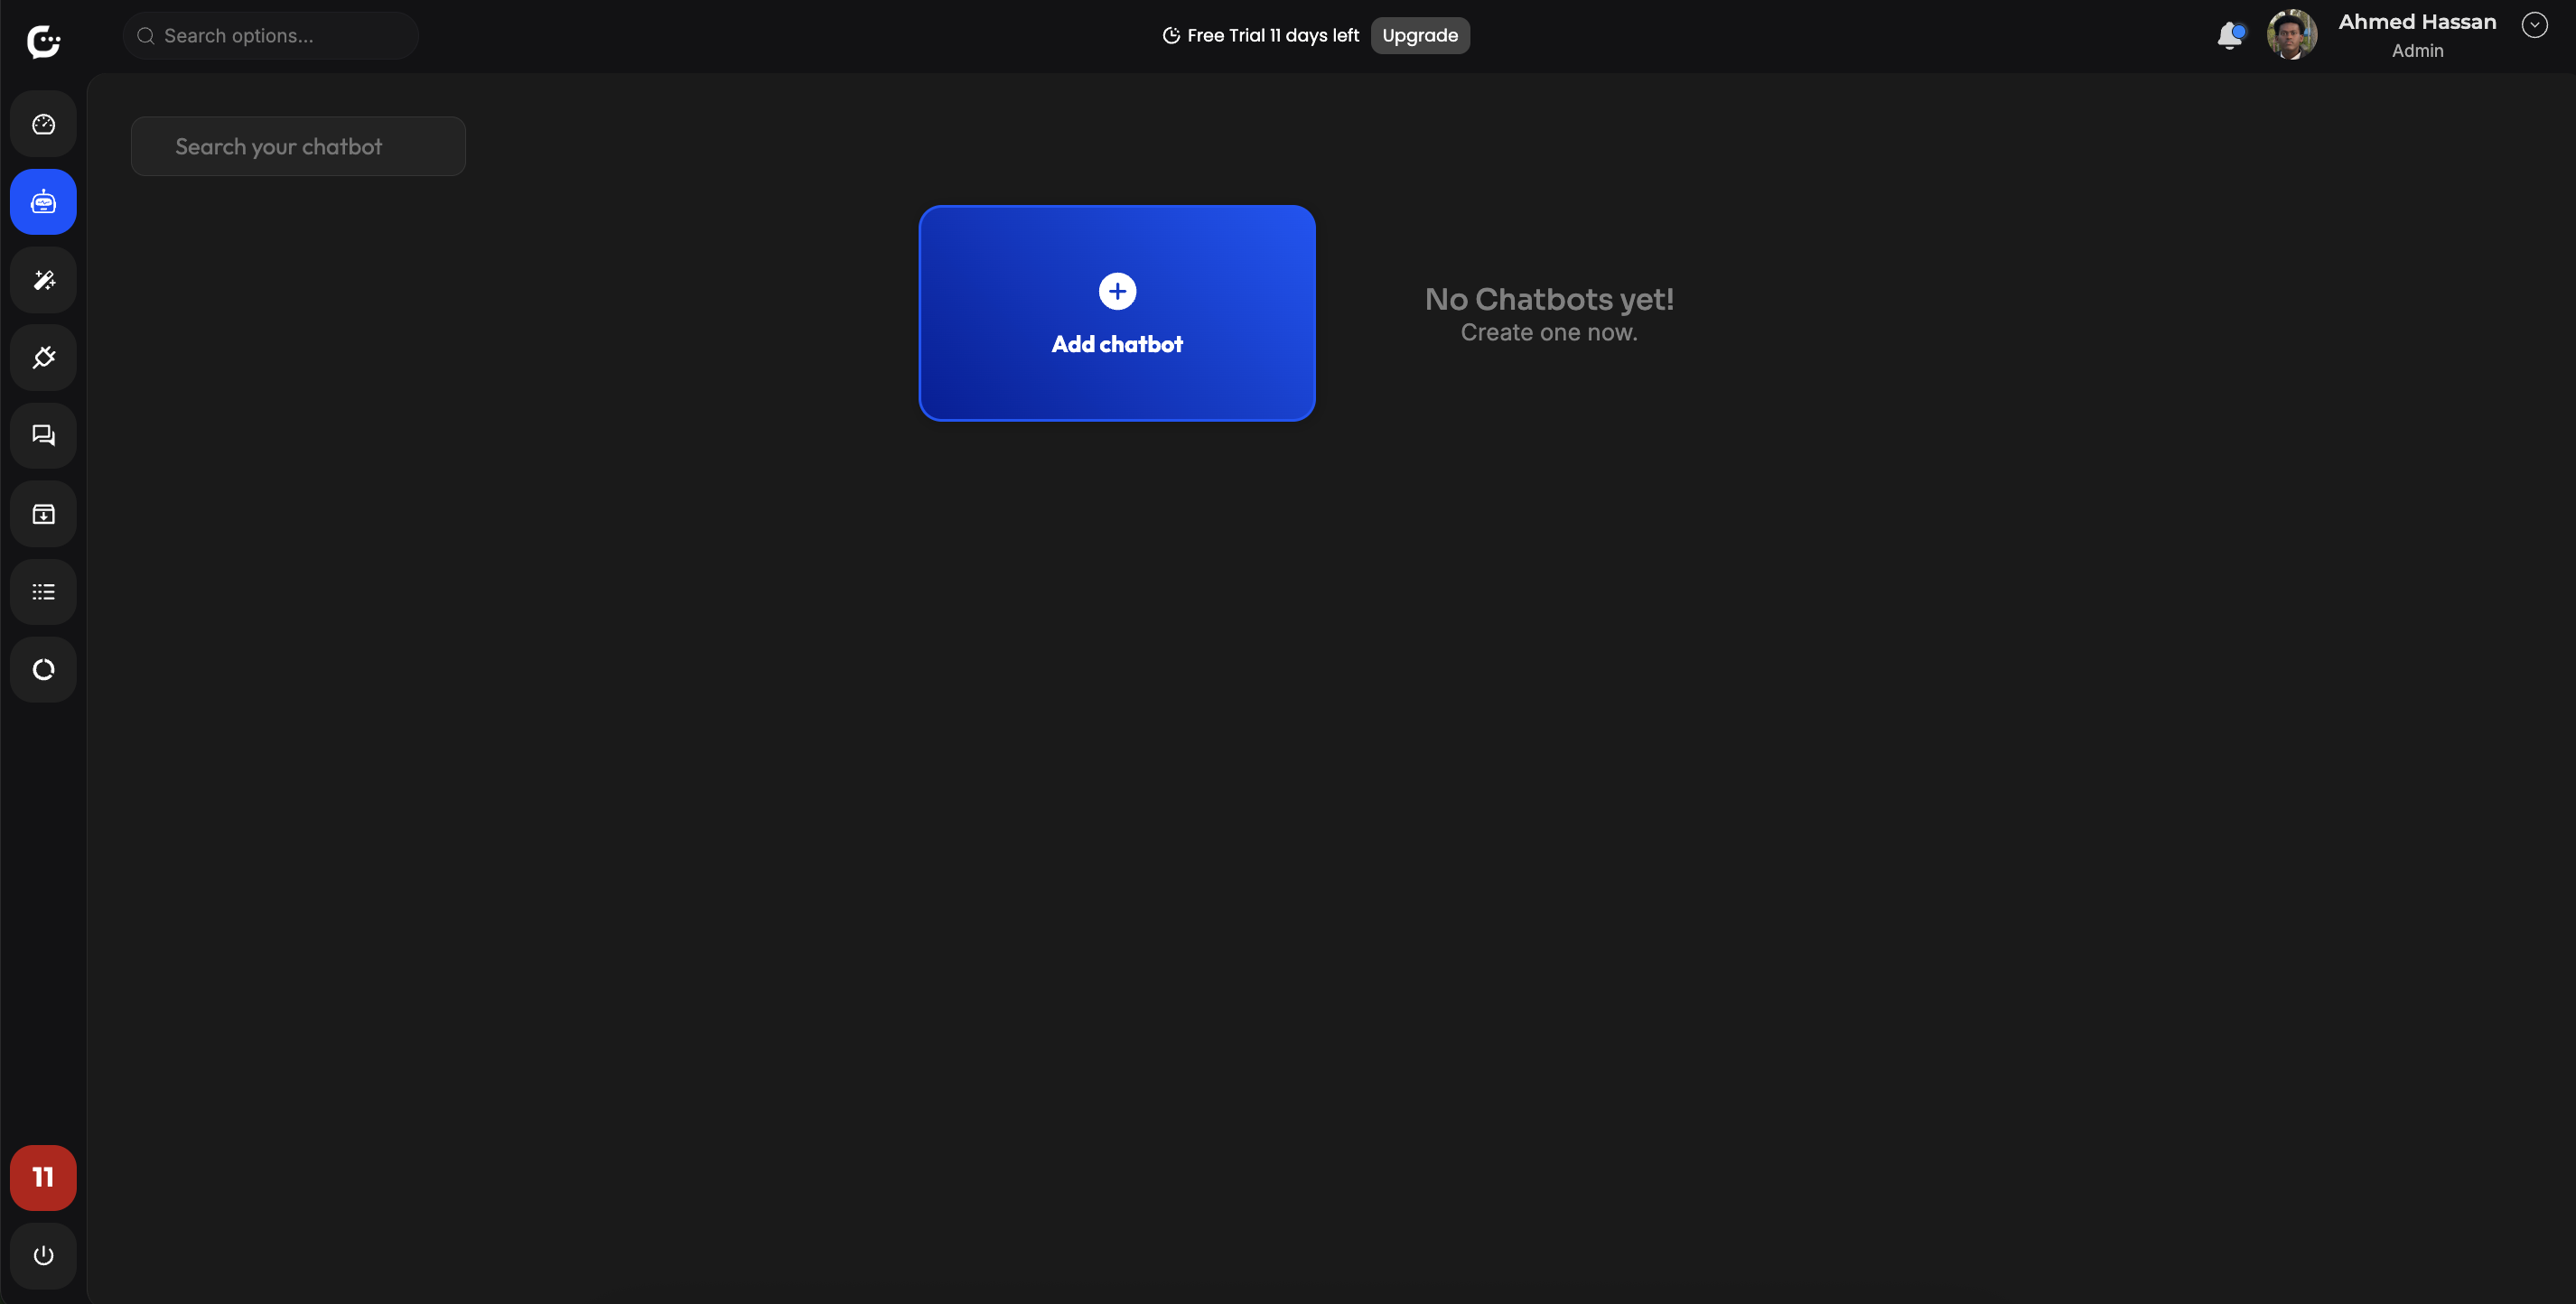
Start from your chatbot dashboard: create or select a bot, open Integrations, and generate a widget tied to that bot.
Place the snippet near the end of the page so your content loads first, then the chat layer initializes. Use a “custom code” or footer HTML area rather than a rich-text body field that strips scripts.
After go-live, resize the window, try real questions, and watch for overlap with cookie banners or sticky headers so the launcher stays tappable.
Embed your chatbot in ten steps
Open Integrations
From your chatbot dashboard, jump to the embed or integrations area for the bot you want on the site.
Create the widget
Add a widget, link it to your trained bot, and pick the environment (e.g. production).
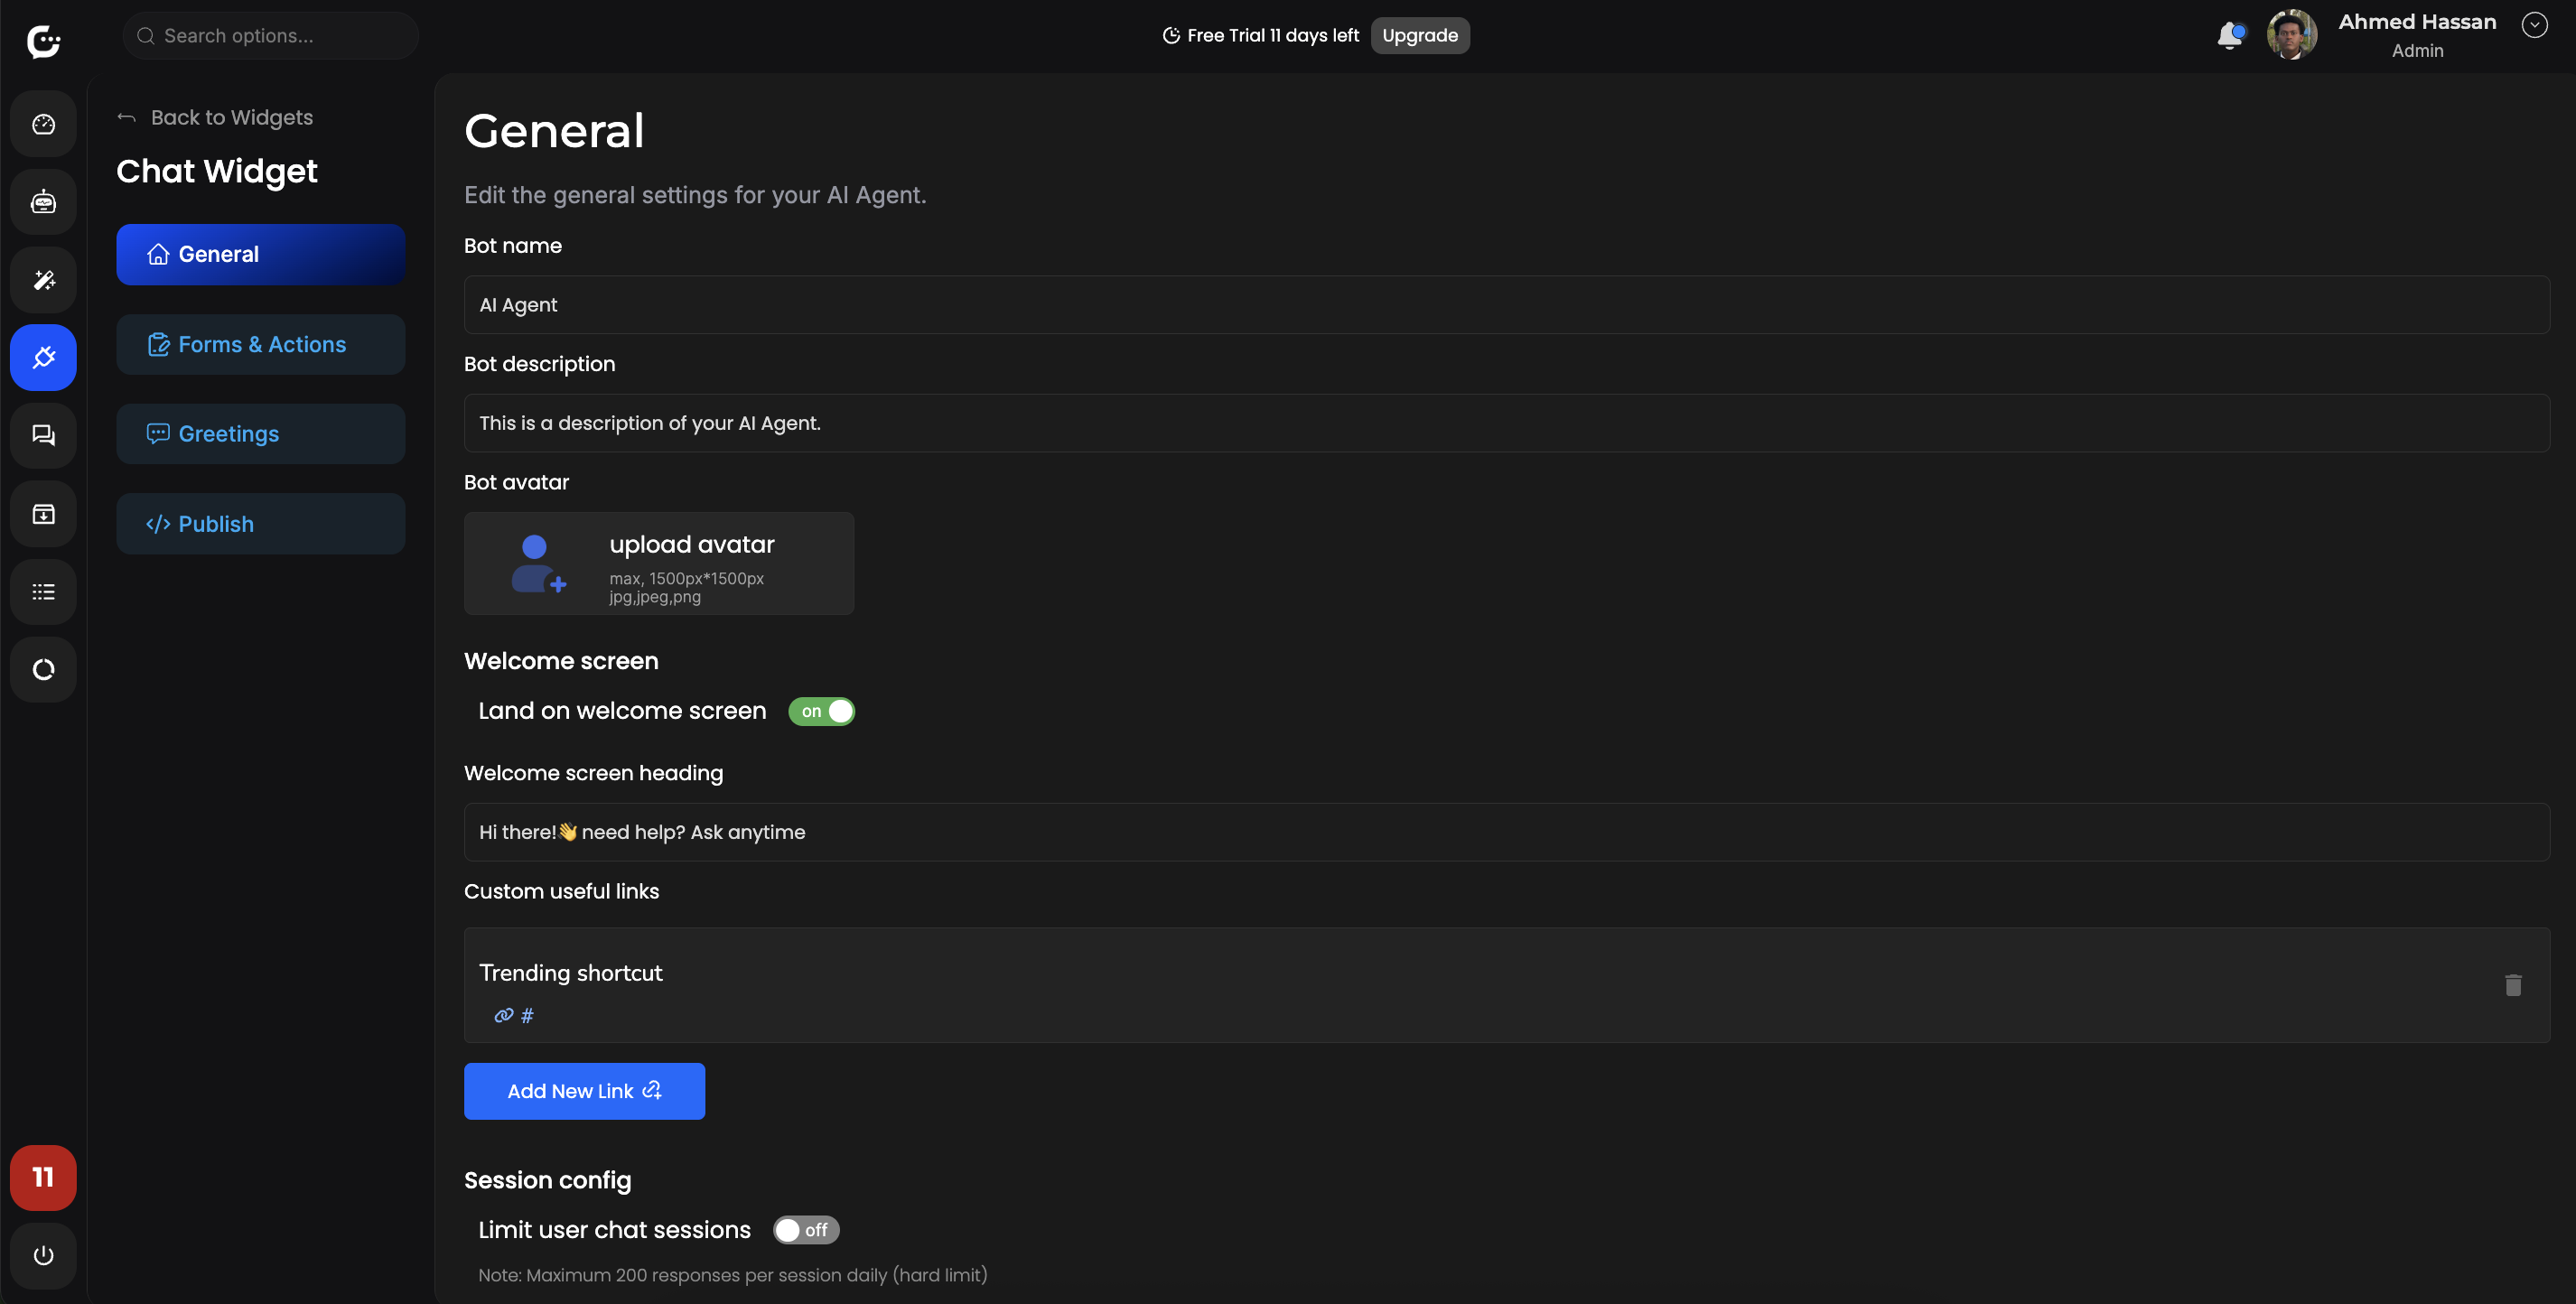
Configure & brand
Set colors, avatar, launcher side, and first message so it matches your site.
Copy the snippet
Grab the loader script and initialization call your platform provides.
Install globally
Paste before </body> or in your theme’s footer / custom code—avoid rich-text-only editors.
Respect CSP & HTTPS
Allowlist script and connect origins if you use a Content Security Policy.
Desktop check
Confirm the launcher doesn’t overlap nav, cookie bars, or primary CTAs.
Mobile check
Verify tap targets, keyboard overlap, and scroll on real phones.
SPA & routing
On single-page apps, ensure one init across route changes.
Go live
Publish, watch a few real conversations, and refine from the dashboard.
Complete integration guide
1. Open Integrations for your chatbot
Select the bot that should appear on your website, then open the Integrations (or embed) section so you can create or edit its widget.
2. Create or select a chat widget
Add a new widget if needed and associate it with the correct bot and workspace so the live site talks to the right knowledge and settings.
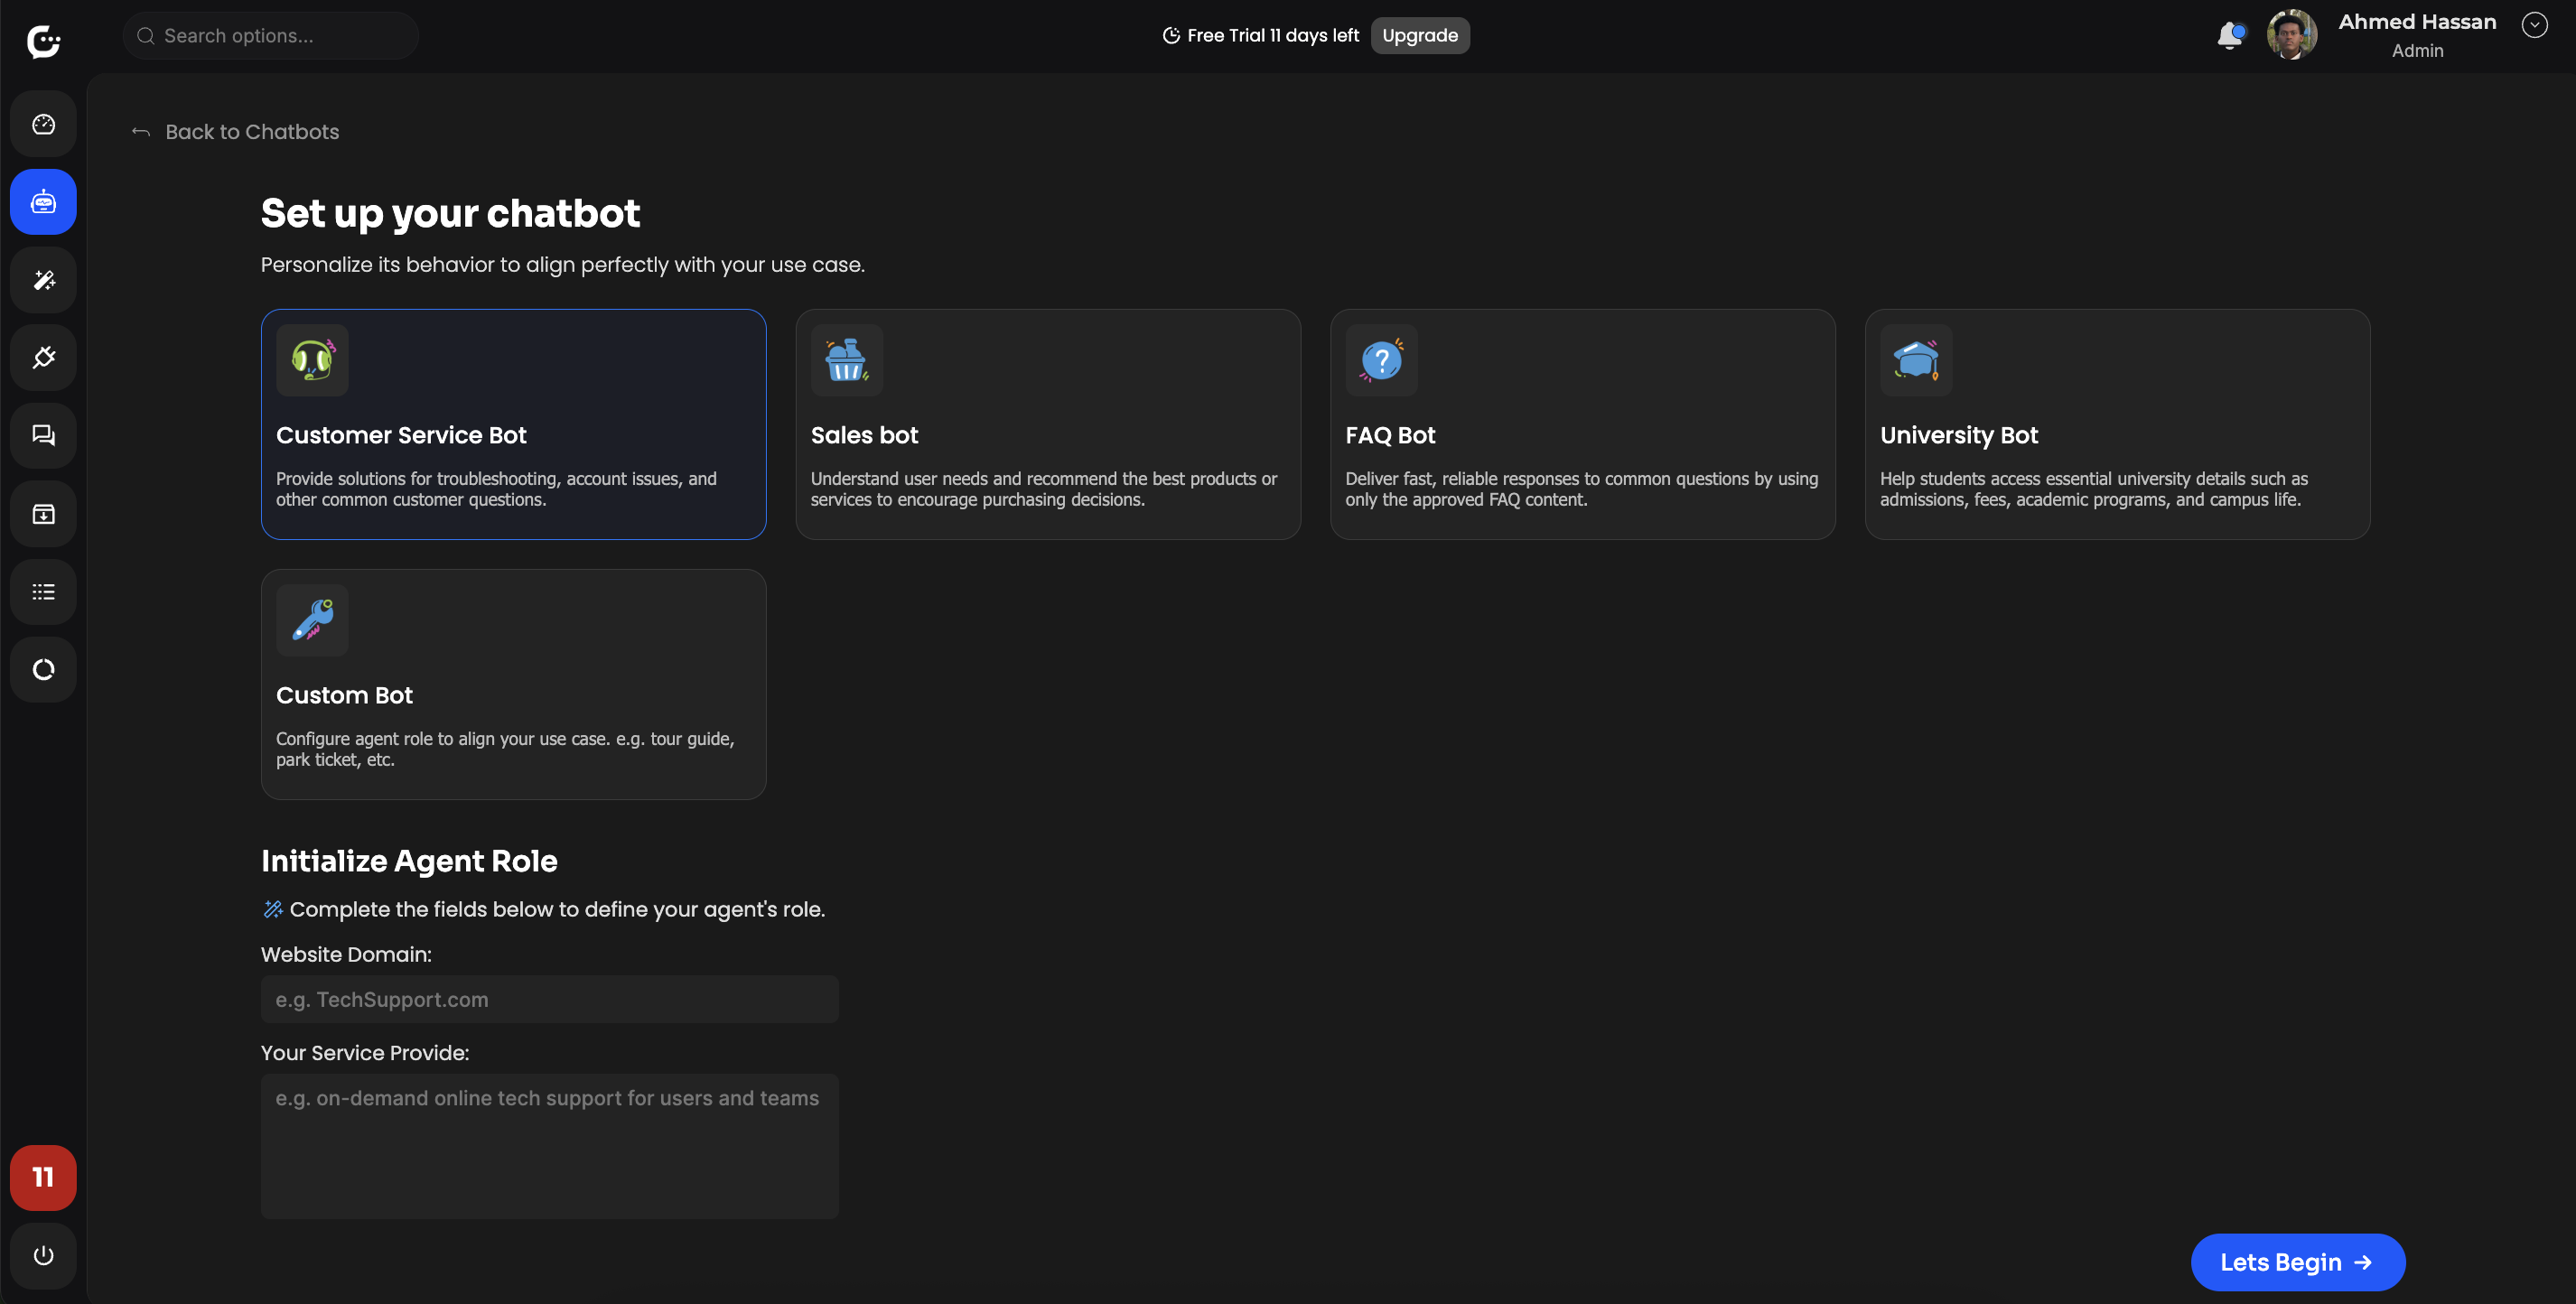
3. Review widget and connection settings
Confirm IDs, domains if required, and any toggles that affect who can load the widget or which bot instance responds.
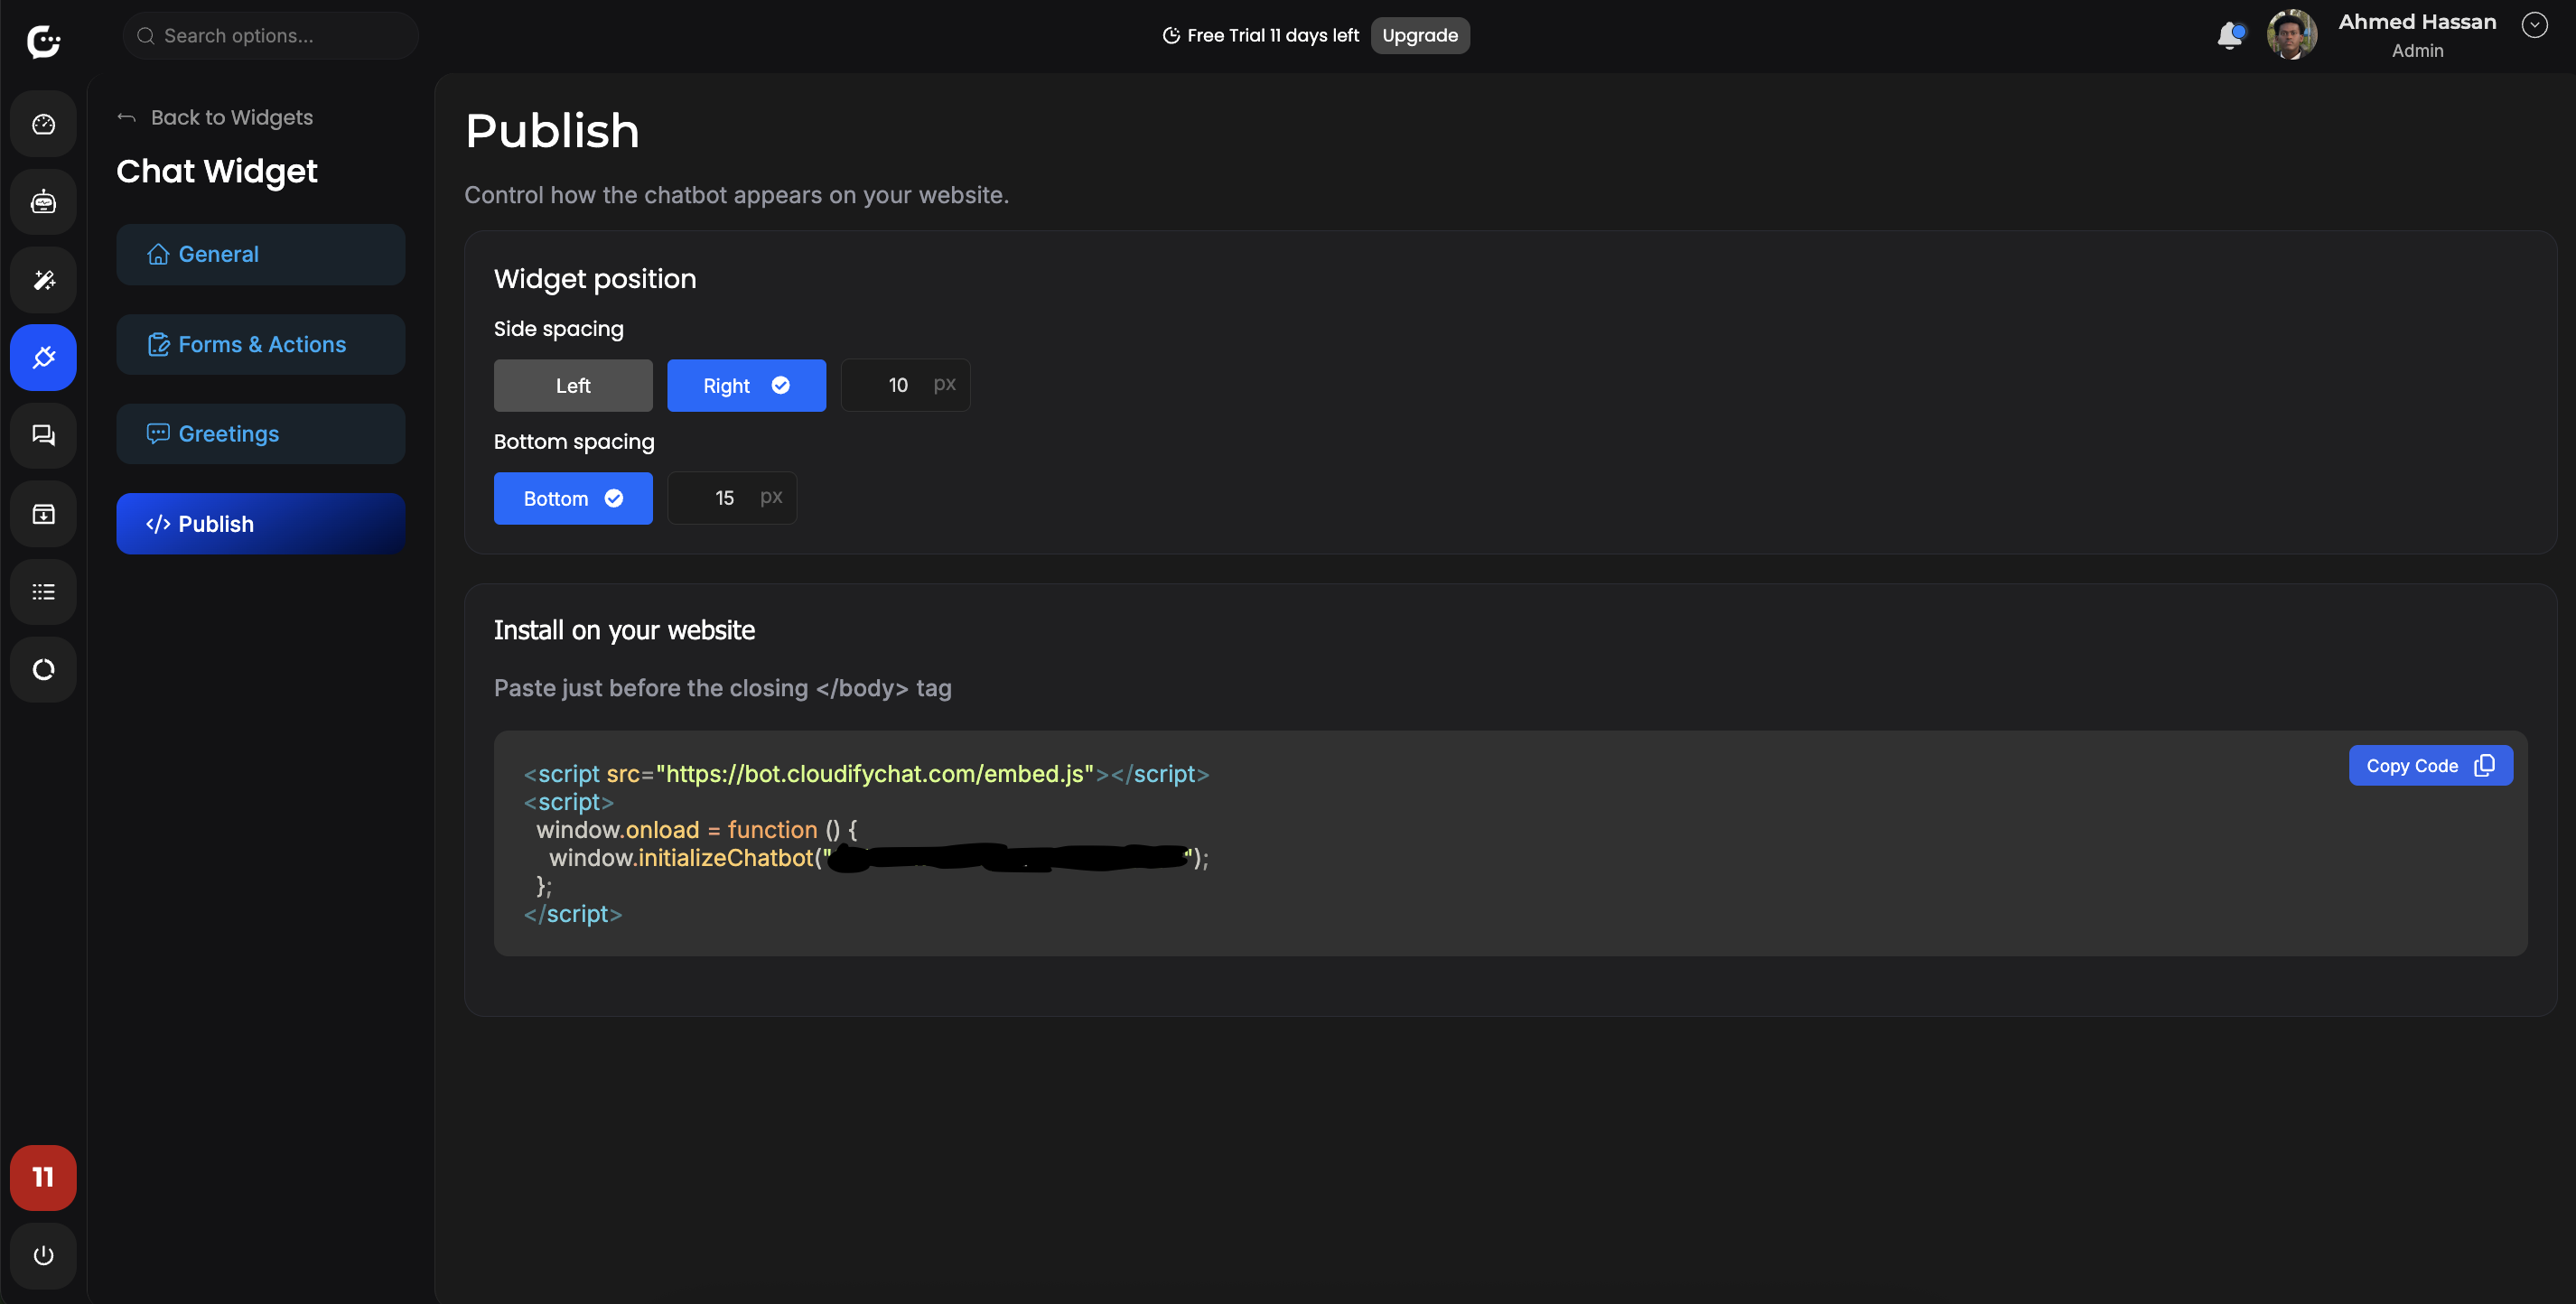
4. Copy your website embed code
Copy the full snippet—typically a script tag plus an initialization call. Keep this in a secure place; treat it like any other site integration secret if it contains identifiers.
<script src="https://bot.cloudifychat.com/embed.js"></script>
<script>
window.initializeChatbot("YOUR_ID","CONFIG");
</script>
5. Choose where to paste the snippet
- Prefer a global footer, layout template, or tag manager slot that runs on every public page.
- Paste before the closing
</body>when possible so page content paints first. - Do not inject duplicate loaders on the same document.

6. Customize appearance and branding
Align primary color, corner radius, avatar, and welcome copy with your design system so the widget feels native rather than bolted on.

7. Set launcher position and safe margins
Pick a corner and offset that clears sticky headers, cookie banners, and mobile home indicators. Adjust if your layout uses full-width bottom bars.
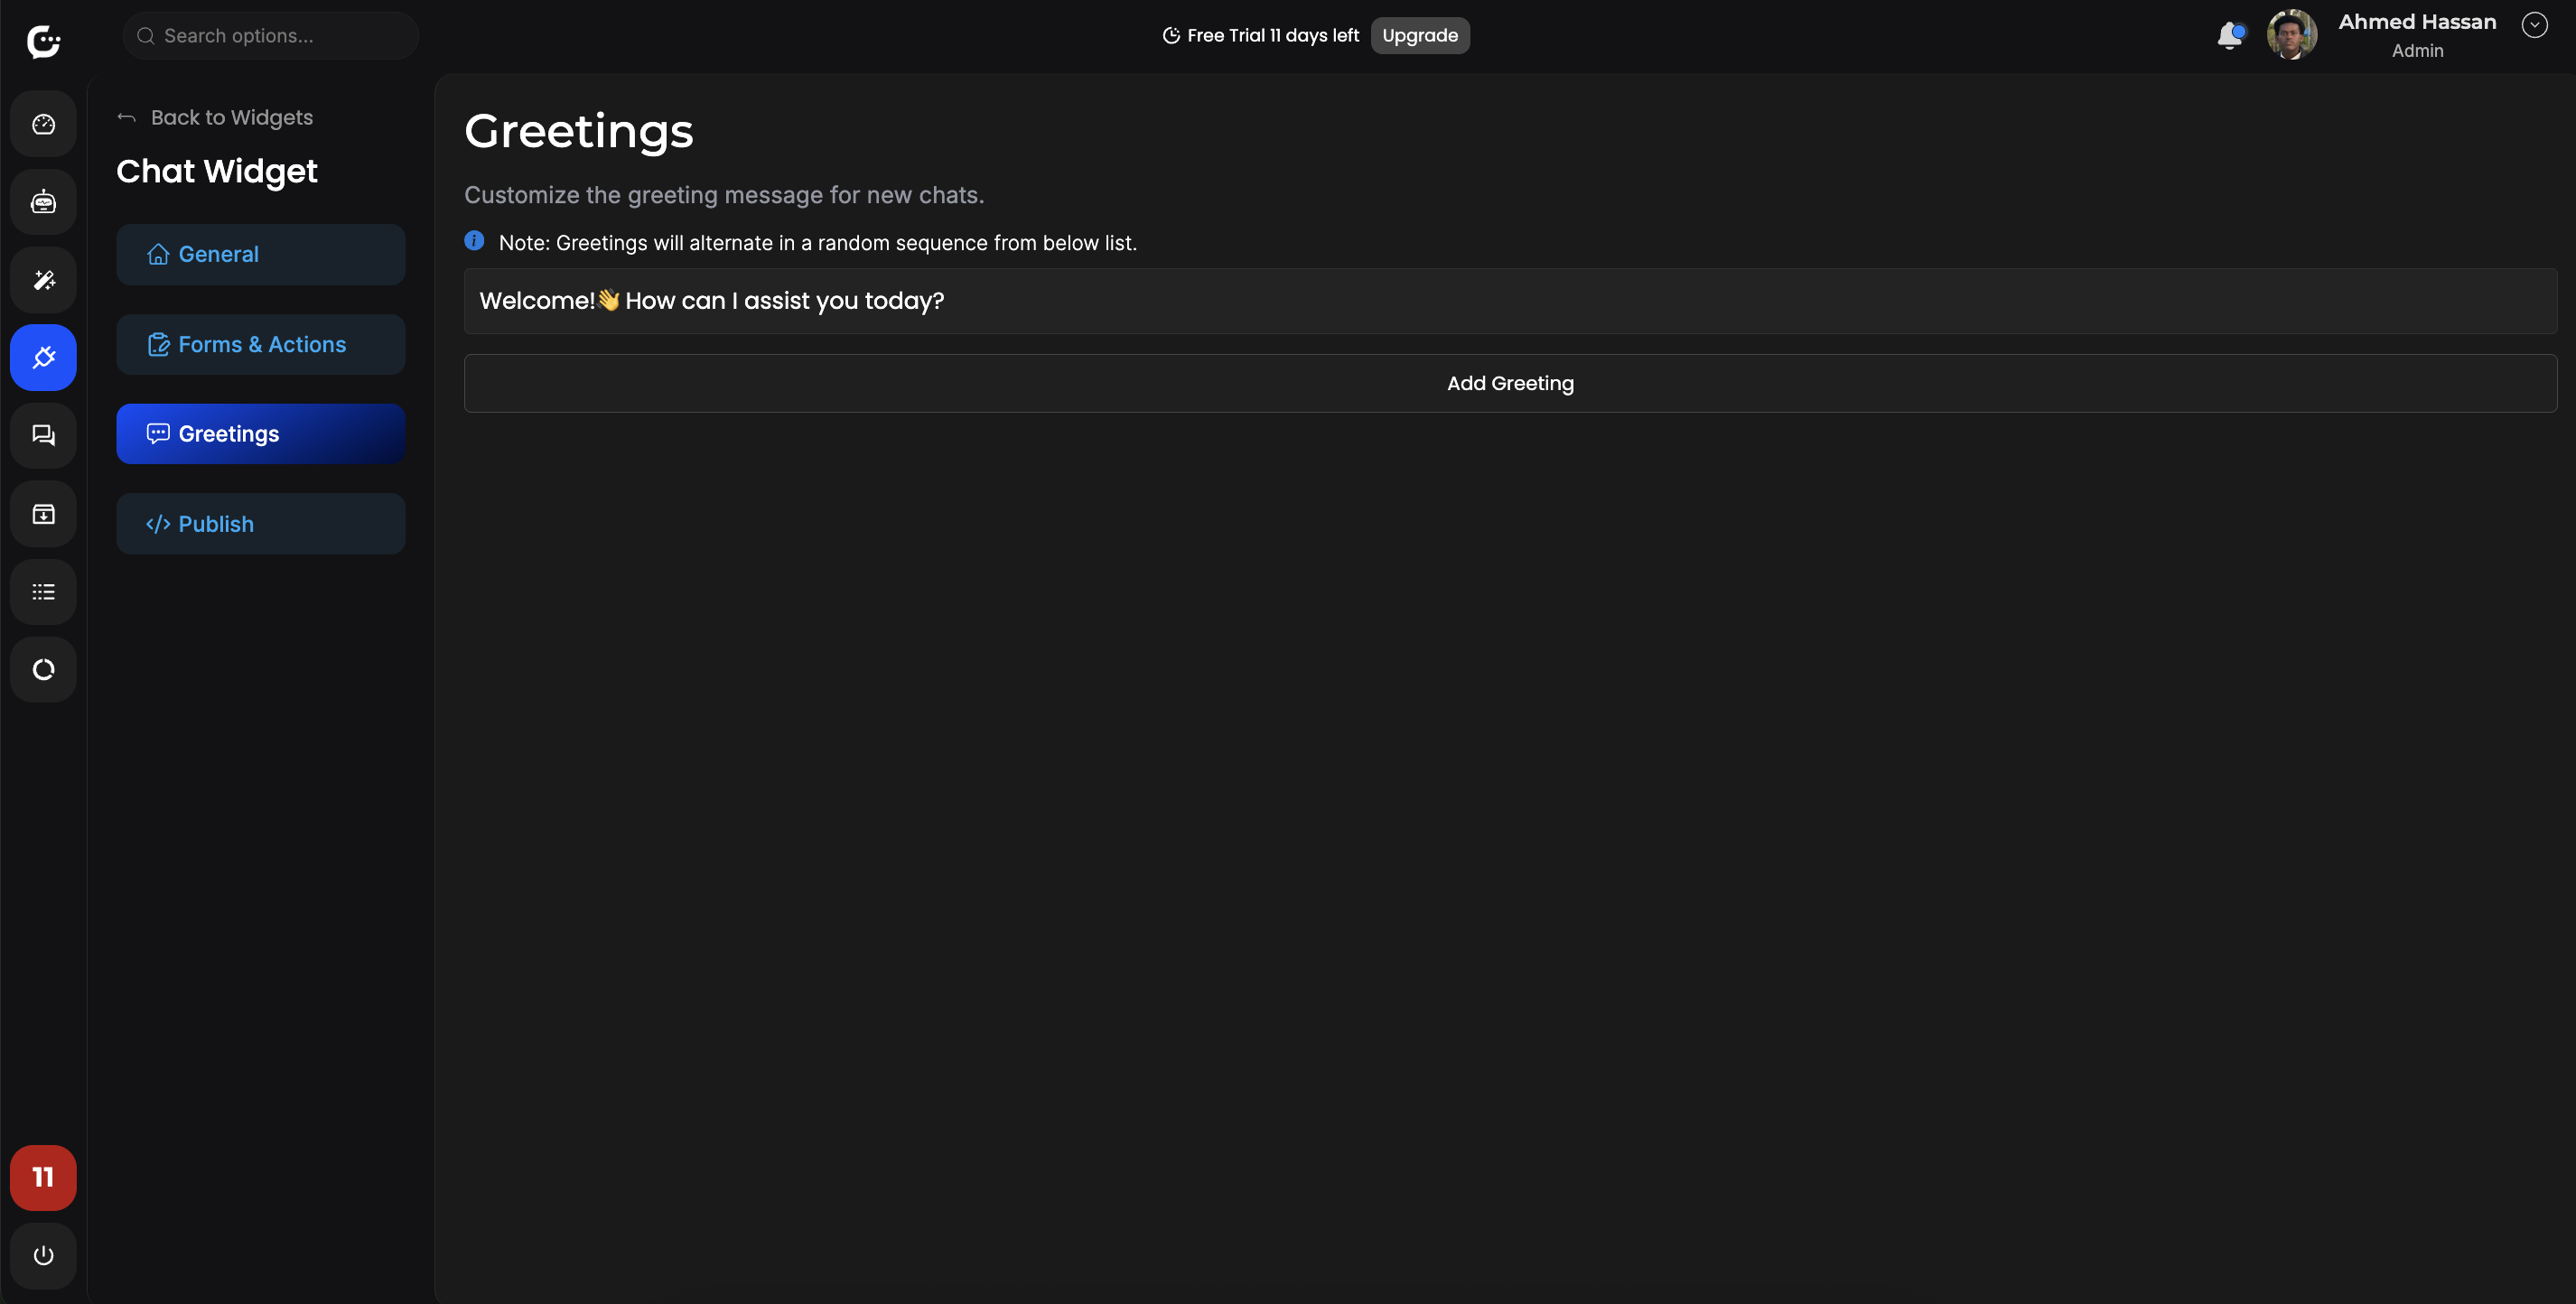
8. Tune behavior and first message
Set default open/closed state, placeholder text, and any rate limits or escalation hints that match how you want visitors to start a conversation.

9. Validate on desktop and mobile
- Resize the browser and test a few real questions end-to-end.
- On phones, check landscape/portrait and keyboard-open states for the input area.
10. Publish and iterate
After go-live, monitor transcripts or analytics, tighten answers in your training data, and tweak the widget from the dashboard without another full site deploy.
Congratulations — your chatbot is embedded and ready for visitors.
Everything you need for a polished on-site experience
Powerful features designed for simplicity, scalability, and performance.
Lightweight embed
Drop in a script and go live without rebuilding your frontend.
Brand-ready UI
Tune colors, position, and copy so the widget matches your site.
Responsive by default
Designed for touch, small viewports, and common layout patterns.
Secure delivery
Serve the widget over HTTPS and keep API keys out of public repos.
Works with your stack
From static sites to React, WordPress, and Shopify-style themes.
Iterate quickly
Change bot content in the dashboard without another deploy.
Ready to add a chatbot to your site?
Create your bot, grab the embed code, and start helping visitors in minutes.
Open dashboard